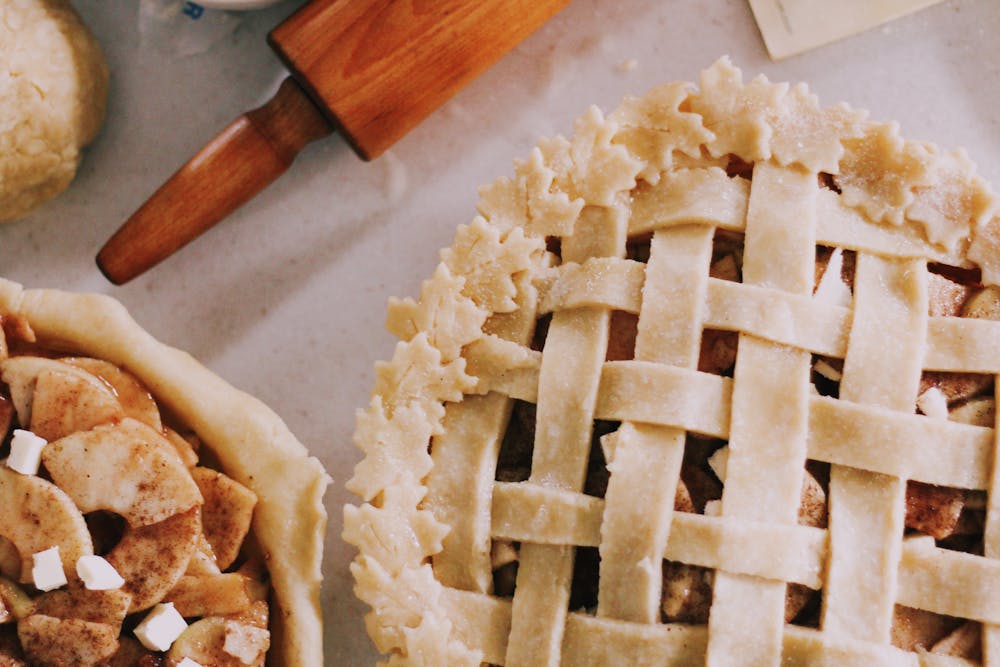
Making homemade bread is a delightful culinary adventure that I’ve thoroughly enjoyed exploring. There’s something incredibly satisfying about kneading dough, watching it rise, and savoring the aroma of freshly baked bread filling the kitchen. If you’ve ever been curious about making your own bread but aren’t sure where to start, fear not! Here are the basics to help you embark on your homemade bread-making journey:
 1. **Gathering Ingredients**: To make bread, you’ll need just a few basic ingredients: flour, water, yeast, salt, and sometimes a sweetener like sugar or honey. Flour provides the structure, yeast helps the dough rise, salt adds flavor, and water hydrates the ingredients and activates the yeast.
 2. **Choosing Flour**: There are various types of flour you can use to make bread, including all-purpose flour, bread flour, whole wheat flour, and specialty flours like rye or spelt. Bread flour has a higher protein content, which gives bread its structure and chewiness, while whole wheat flour adds a nutty flavor and extra nutrients.
 3. **Activating Yeast**: Yeast is a key ingredient in bread-making, as it helps the dough rise and develop flavor. To activate yeast, you’ll need to dissolve it in warm water (around 110°F or 43°C) along with a pinch of sugar. Let the mixture sit for a few minutes until it becomes frothy and bubbly, indicating that the yeast is active and ready to use.
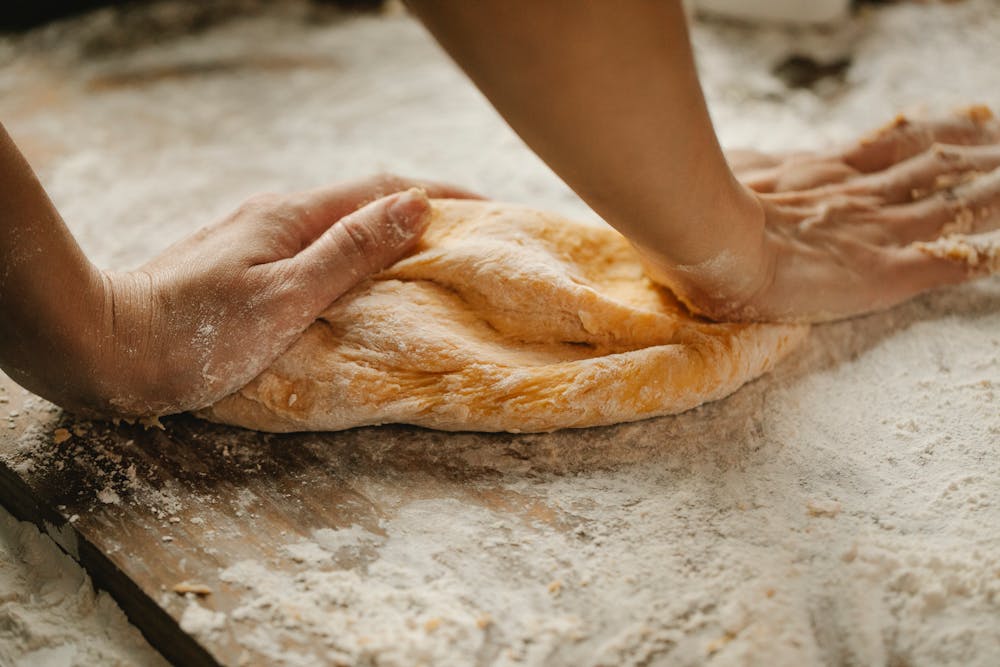
 4. **Kneading Dough**: Kneading is an essential step in bread-making, as it develops the gluten in the flour, giving the bread its structure and texture. To knead dough, lightly flour a clean work surface, then place the dough on it and fold it over itself repeatedly, using the heels of your hands to push and stretch the dough. Continue kneading until the dough is smooth and elastic.
 5. **Proofing Dough**: After kneading, the dough needs to rise, or proof, in a warm, draft-free environment. Place the dough in a greased bowl, cover it with a clean kitchen towel or plastic wrap, and let it rise until doubled in size, which usually takes about 1-2 hours, depending on the recipe and ambient temperature.
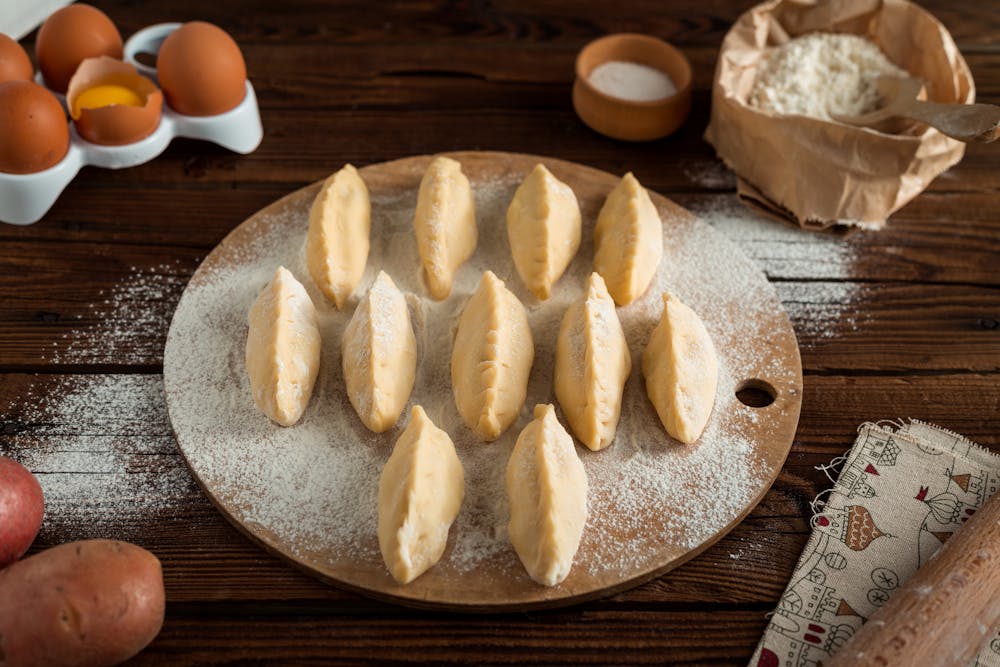
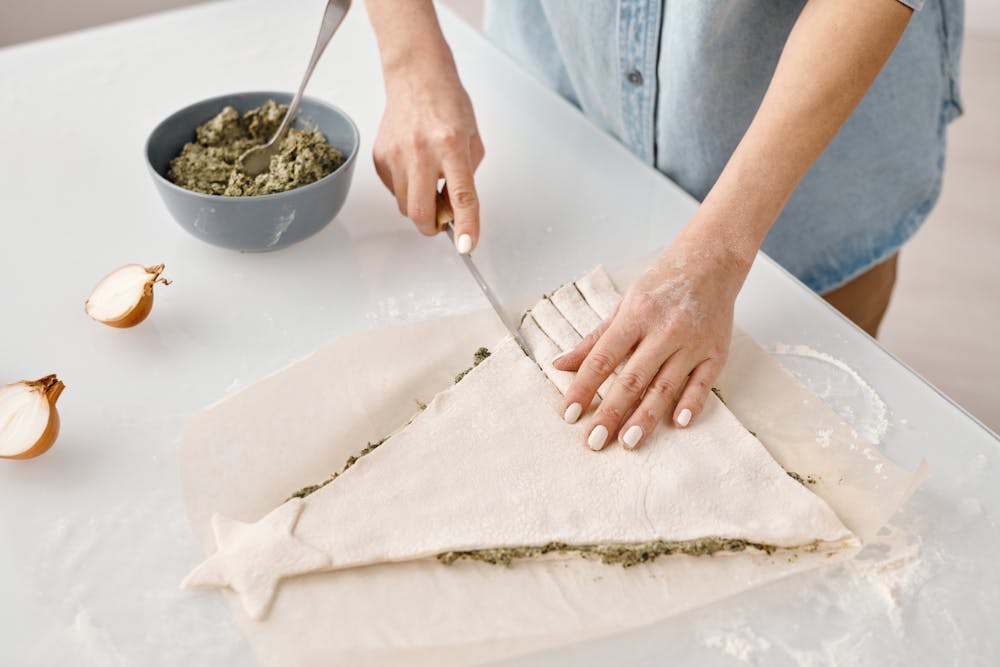 6. **Shaping and Baking**: Once the dough has risen, it’s time to shape it into loaves or rolls and bake it in the oven. Preheat your oven to the temperature specified in the recipe, then transfer the shaped dough to a baking sheet or loaf pan. Let the dough rise again briefly while the oven preheats, then bake until golden brown and hollow-sounding when tapped on the bottom.
 7. **Cooling and Enjoying**: After baking, allow the bread to cool on a wire rack for at least 15-20 minutes before slicing and serving. This allows the steam inside the bread to redistribute, resulting in a better texture. Enjoy your homemade bread warm with butter, jam, or your favorite toppings.
 With these basics in mind, you’re well-equipped to start making your own delicious homemade bread. Don’t be afraid to experiment with different flours, flavors, and techniques to find your perfect loaf. Happy baking!
